

On this page
Short answer: For the youngest, choose pages with a few big areas and thick lines; as children grow, move to pages with more areas and numbers. Outlineify makes both from your own photos: 0–2 for big, simple shapes and 2+ for more to color.
This guide is written for parents and grandparents. Outlineify is an app for grown-ups: you take the photo and make the page, and the child only ever meets the printed paper.
What a color-by-number page is
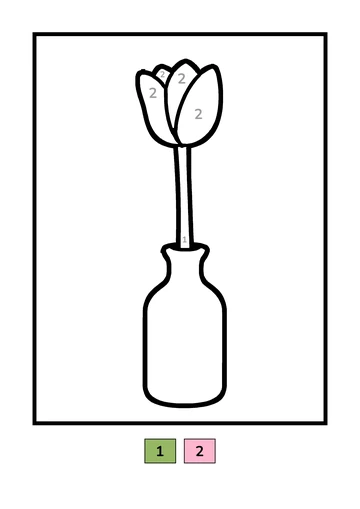
A color-by-number page is a line drawing split into areas. Each area carries a number, and a color key shows which color belongs to each number. A colored example shows how the finished page can look.
Why pages made from your own photos are special
A page of the family dog, the cat on the windowsill or a favorite toy car is something your child already knows. That gives you something to talk about while you color: what the dog is called, where the car lives, which flower grew in the garden.
Choosing the right level
0–2: Big, simple shapes
- A few large areas with thick, clear lines.
- Only a handful of colors in the key.
- The numbers can be a gentle starting point rather than a rule. Scribbling over the lines is part of the fun.
2+: More to color
- More areas, more numbers and more of the photo’s details.
- A good fit when a child enjoys finding the right color and staying inside the lines.
- Longer pages can be colored over several sittings.
You pick the level for each photo, so you can make a simple page and a detailed page from the same picture, for example one for a younger and one for an older sibling.
Tips for coloring together
- Sit down together. Color the same page side by side, or take turns on different areas.
- Use chunky crayons for small hands, and keep only the colors from the key on the table.
- Print the colored example on a second sheet and keep it next to the page as a guide.
- Keep it short and relaxed. Stop while it is still fun; the page will wait in My Drawings.
- Print it twice. A second copy means nobody has to worry about mistakes.
Making the page in Outlineify
- Take or choose a photo with one clear subject.
- Crop it to the part you love.
- Choose 0–2 or 2+.
- Print the page on A4 or US Letter, or save a PDF.
See How to turn a photo into a coloring page for step-by-step help.