
On this page
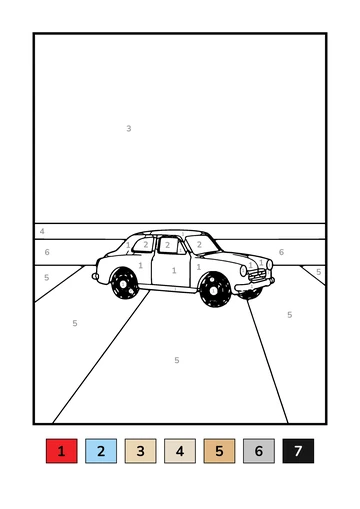
Short answer: Choose a clear photo with one main subject, crop it to the part you love, pick a detail level and let Outlineify draw the page. In about a minute you get printable black line art with numbered areas, a color key and a colored-in example.
What you need
- An iPhone or iPad with Outlineify and an Outlineify Pro subscription.
- A photo from your camera or your photo library.
- A printer, or a place to save a PDF to print later.
1. Pick a good photo
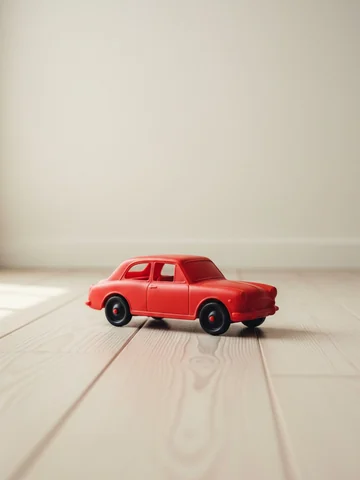
The clearer the photo, the cleaner the page. Photos that work well have:
- One main subject, such as the family dog, a favorite toy or a flower in a vase.
- Good light, like daylight from a window, without strong shadows.
- A simple background, such as a plain wall, a floor or a table.
- The subject large in the frame, not a small detail far away.
You can take a new photo in the app or choose one from your library.
2. Crop to the part you love
Drag the corners of the frame around the part of the photo you want on the page. Cropping closer gives bigger shapes and clearer lines. If the area you choose is too small for a clear page, the app tells you and asks you to drag the corners out a little.
3. Choose the detail level
Outlineify makes pages at two levels:
- 0–2: Big, simple shapes. Fewer areas and thick lines.
- 2+: More to color. More areas and numbers, with more of the photo’s details kept in.
You choose the level for each photo, so you can make one simple page and one detailed page from the same picture.
4. Wait about a minute
Outlineify draws the outlines, numbers every area and builds a color key from the colors in your photo. You can leave the app while it works; a notification tells you when your page is ready.
5. Print, save or share
Your page fits A4 and US Letter. You can:
- Print the page, or print it with the colored example on a second sheet.
- Save a PDF or an image to print later or on another device.
- Share it with family, so they can print one too.
Every page also stays in My Drawings, ready to print again.
If the page does not look the way you hoped
- Try a photo with a simpler background or better light.
- Crop closer to the main subject.
- Choose 0–2 for a simpler page with fewer areas.
What happens to your photo
Your photo is used only to make your page. It is deleted from our servers as soon as the page is done, and it is never used to train AI models. Read the Privacy Policy for the details.